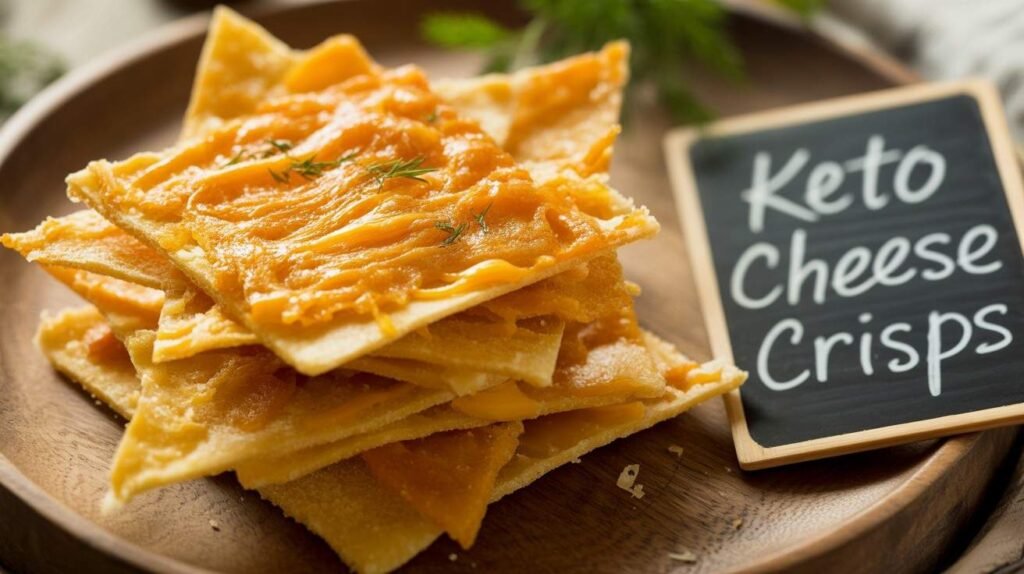
Keto Cheese Crisps are the ultimate low-carb snack that satisfies your cravings for something crunchy, cheesy, and delicious without ruining your ketogenic diet. They are perfect for a quick snack, a salad topper, or even as a crunchy base for dips. These crisps are naturally gluten-free, grain-free, and incredibly easy to make, requiring just a few ingredients and a short amount of time.
The best part about Keto Cheese Crisps is their versatility. You can enjoy them plain, add spices like paprika or garlic powder, or even sprinkle herbs like rosemary or thyme to enhance the flavor. They are ideal for those following a keto or low-carb lifestyle but also loved by anyone who enjoys a crispy, cheesy treat.
Whether you’re meal prepping for the week, looking for a party snack, or just want a guilt-free munch, these cheese crisps are a perfect choice. They are crispy on the edges, slightly chewy in the center (depending on thickness), and bursting with savory, cheesy goodness.
Ingredients
Equipment
Method
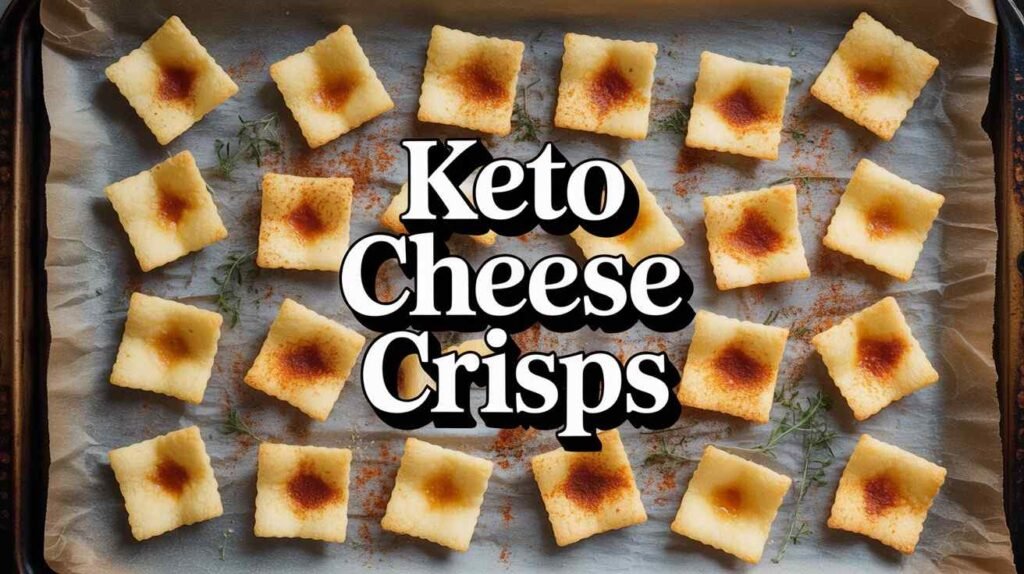
- Preheat your oven to 400°F (200°C). Line a baking sheet with parchment paper or a silicone baking mat. This prevents the cheese from sticking and makes cleanup easier.
- In a medium bowl, combine shredded cheddar cheese and grated Parmesan. Add garlic powder, paprika, and Italian herbs if using. Mix well to ensure even distribution of spices and herbs.
- Use a spoon or small cookie scoop to place small mounds of the cheese mixture on the prepared baking sheet. Space them at least 1–2 inches apart because the cheese will spread as it melts.
- Gently press the cheese mounds down slightly with the back of the spoon to form thin discs. Thinner crisps will bake faster and become crispier.
- Place the baking sheet in the preheated oven and bake for 5–7 minutes, or until the edges are golden brown and the cheese is fully melted. Keep a close eye to prevent burning, as baking time may vary depending on your oven and thickness of the crisps.
- Remove the baking sheet from the oven and allow the crisps to cool completely on the sheet for 5–10 minutes. They will harden as they cool, giving you the perfect crispy texture.
- Once cooled, carefully lift the crisps off the parchment paper using a spatula and serve immediately, or transfer to an airtight container for storage.
Notes
Nutritional Facts and Total Calories (per 5 crisps)
- Calories: 180 kcal
- Protein: 12 g
- Fat: 14 g
- Saturated Fat: 8 g
- Carbohydrates: 1 g
- Fiber: 0 g
- Sugars: 0 g
- Sodium: 320 mg
Keto Cheese Crisps: Crispy, Cheesy, Low-Carb Snacks
Ingredient Notes
Cheddar Cheese—Sharp cheddar works best because it melts well and crisps nicely in the oven. Mild cheddar can also be used but may result in a less intense flavor. Shredded cheese is preferred, as it melts evenly.
Parmesan Cheese—Parmesan adds extra sharpness and a slightly nutty flavor. It also helps the crisps hold their shape while baking.
Garlic Powder—Optional but highly recommended for an aromatic, savory kick. Adjust according to taste.
Paprika—Adds a smoky flavor and a subtle reddish color to the crisps. Smoked paprika works particularly well for a deeper flavor profile.
Italian Herbs—Herbs like oregano, thyme, or rosemary can be added to give your crisps a gourmet touch. Fresh herbs can be used but should be finely chopped and added sparingly.
Serving Instructions
Keto Cheese Crisps can be enjoyed in various ways:
- Snack: Serve as a crunchy snack on their own.
- Salad Topper: Break into smaller pieces and sprinkle over salads for added texture.
- Dip Pairing: Use as a keto-friendly alternative to chips for dips like guacamole, salsa, or spinach artichoke dip.
- Mini Sandwich Base: Top with a slice of deli meat and cream cheese for a quick, low-carb snack.
Each serving is typically 5–6 crisps depending on size.
Tips
- Use freshly shredded cheese for best results; pre-shredded cheese may contain anti-caking agents that can affect melting.
- Adjust crisp thickness—thinner crisps are crunchier, and thicker ones are chewier.
- Watch closely while baking—cheese can burn quickly. Remove when the edges turn golden brown.
- Experiment with flavors—add chili flakes, smoked paprika, or different cheese combinations like mozzarella or gouda.
- Cool completely—crisps will harden more as they cool, so don’t skip this step.
Storage Information
- Room Temperature: Store in an airtight container for up to 2 days.
- Refrigerator: Keep in a sealed container for up to 1 week.
- Freezer: Freeze in a single layer on a baking sheet, then transfer to a freezer bag. Can be stored up to 2 months. Reheat in the oven for 2–3 minutes to restore crispiness.
Level of Difficulty
- Difficulty: Easy
This recipe is beginner-friendly and requires minimal ingredients and tools.
FAQ’s
1. Can I use other types of cheese?
Yes! Mozzarella, gouda, Swiss, or pepper jack can be used alone or mixed with cheddar for different flavors.
2. Can I make these in the microwave?
Microwave cooking is not recommended, as the cheese may melt unevenly and not crisp properly. Oven baking is preferred.
3. Can I make them spicier?
Absolutely! Add chili flakes, cayenne pepper, or smoked paprika to taste.
4. How do I prevent the crisps from sticking?
Use parchment paper or a silicone baking mat. Avoid greasing the pan, as it can cause uneven crisping.
5. How long will they stay crispy?
If stored in an airtight container at room temperature, they stay crispy for 1–2 days. Refrigeration may slightly soften them, but a quick reheat in the oven restores crispiness.
6. Can I make them larger or smaller?
Yes, but adjust baking time accordingly. Larger crisps may need an extra minute or two, while smaller ones bake faster.

Hi, I’m James Andrew — the chef behind these keto recipes. I love creating food that’s simple, delicious, and good for the body. My goal is to make healthy eating feel enjoyable, not strict or complicated. I hope my recipes inspire you to enjoy every meal on your keto journey.